
Shopifyでは商品にバリエーションを設定してSKUをもたせることができます。
商品ページでバリエーションを選択して数量を入力しカートに入れるのですが、SKUの内容によっては「数量単位」が異なる場合があります。
「Ax1個」だったり、「Bx5個入り」だったり、「Ax3個とBx3個入り」だったり。
ファブリック(テキスタイル)の商材であれば、同じ生地でもロール売りや切り売りがあったり。
そういった商品をSKU別で1商品として登録してある場合にはとくに困らないのですが、5個まとめ買いだと安くなるような商品は、価格比較できるように1商品として登録している場合もあって、1商品に数量単位の異なるSKUを複数持たせていると、お客様によってはその商品がいくつ届くのかわかりにくいと感じることもあります。
たとえば、切り売りは1m単位だから数量10なら10m、ロールなら、それが50mなら数量1で50mのロールが1本届きます。
100mL入りジュースが10パックほしいのか、1L入りパックがほしいのか、総量は同じでも、購入後の使い方によっては、困ってしまうこともありますね。
書き方によっては、「3パック」が1パックx3個入りの可能性もあれば、5個入り1セットが1パックに梱包されていて、それが3パックで15個届いてしまう可能性もあります。
Amazonでもそういった、結局何がいくつ届くのかわかりにくい商品を見かけることがあります。
といって、詳しく説明が書かれていても、現在選択されているバリエーションが欲しいものと異なるのに気づかずカートに入れて購入してしまうかもしれません。
連絡をもらって返品・交換対応をすれば済む話ではあるのですが、食品などはそういうわけにもいかない、というケースもあります。
バリエーション名に単位を入れるだけでなく、数量入力のところにも単位を表示してあげたほうが、いくつ届くのか直感的で親切ですし、お客様サポートの対応も減らせます。
しかしここで、日本ならではの要望が生まれてきます。
そう、単位の種類の多さです。
たとえば次のような入り数のSKUをもった商品があった場合、
- A1個
- B1個
- A5個入り
- B5個入り
- A/Bセット
- A/B5セット
単位が下記のようにバラバラだったりしますね。
- A: 1(個)
- B: 1(個)
- A5個入り: 1(袋)
- B5個入り: 1(袋)
- A/Bセット: 1(セット)
- A/B5セット: 1(式)
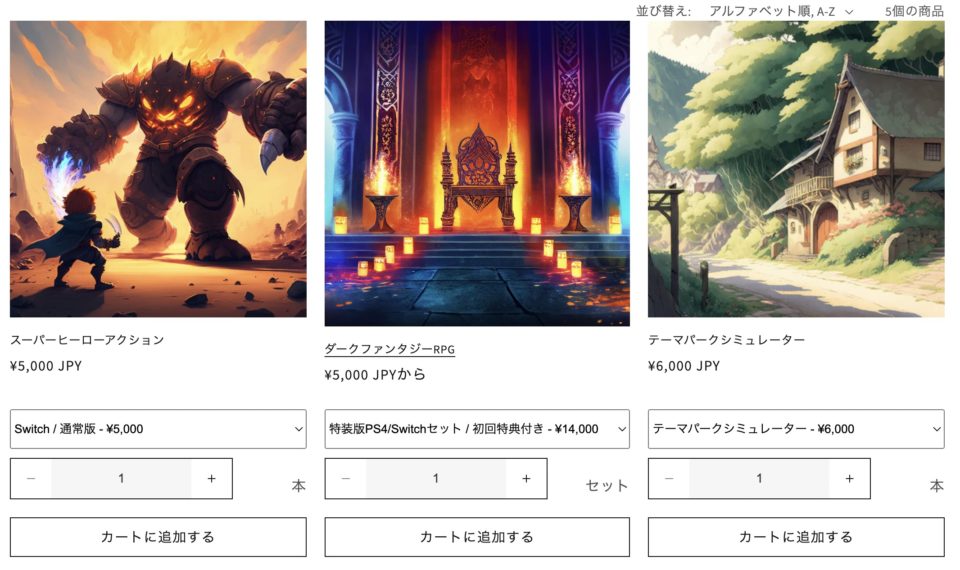
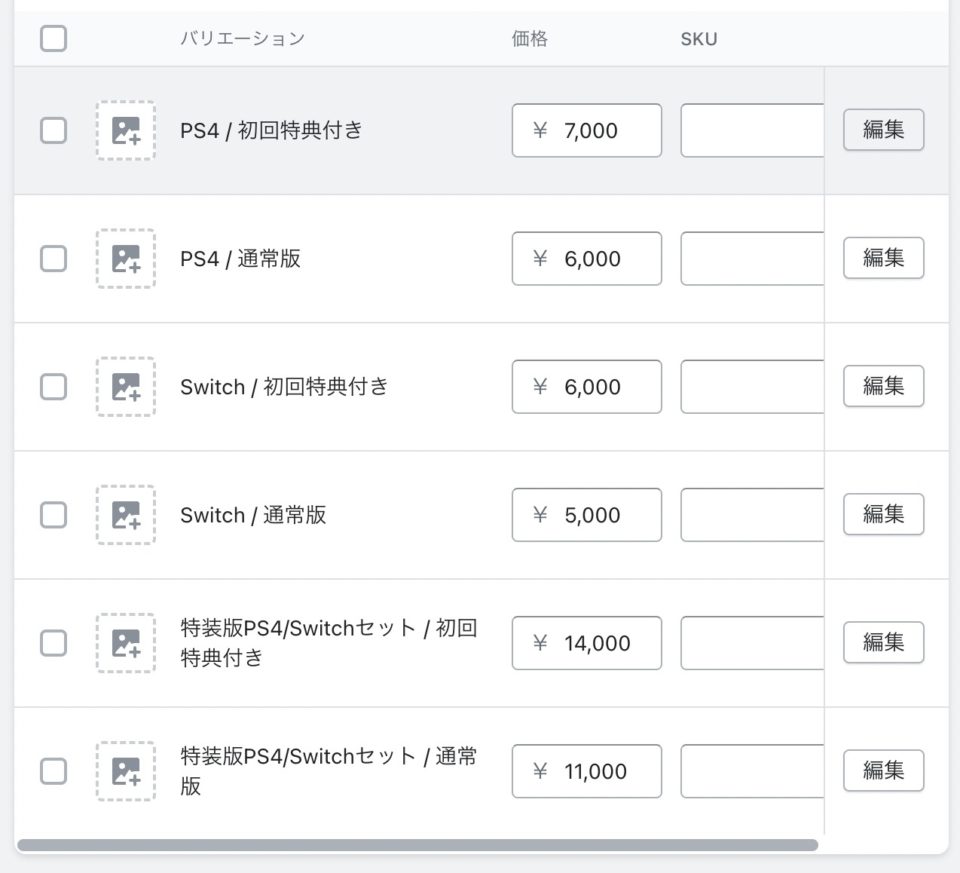
前置きがめっちゃ長くなりましたが、いつものゲームソフト販売サイトで、この画像のような感じで、セット商品などを選んだときに数量単位を切り替えられるようにカスタマイズしたいと思います!
商品バリエーションのメタフィールドに数量単位を設定する
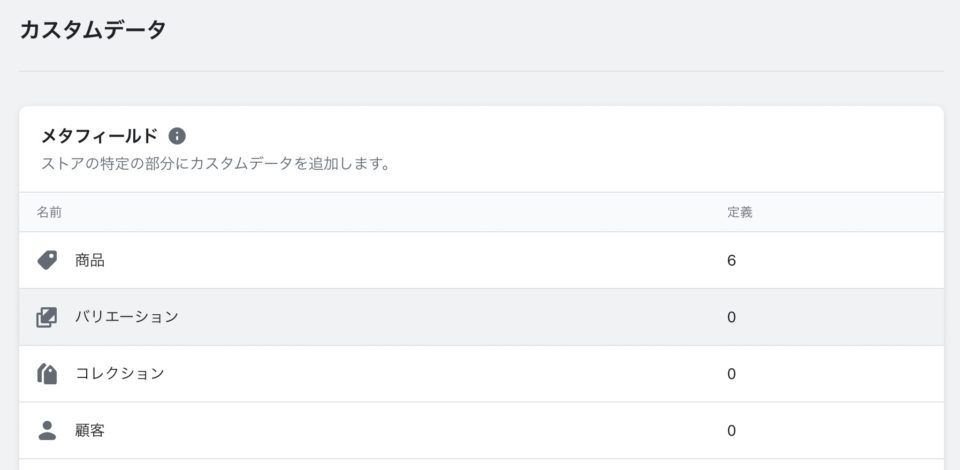
まずは、各バリエーションごとに数量単位のデータを持たせます。
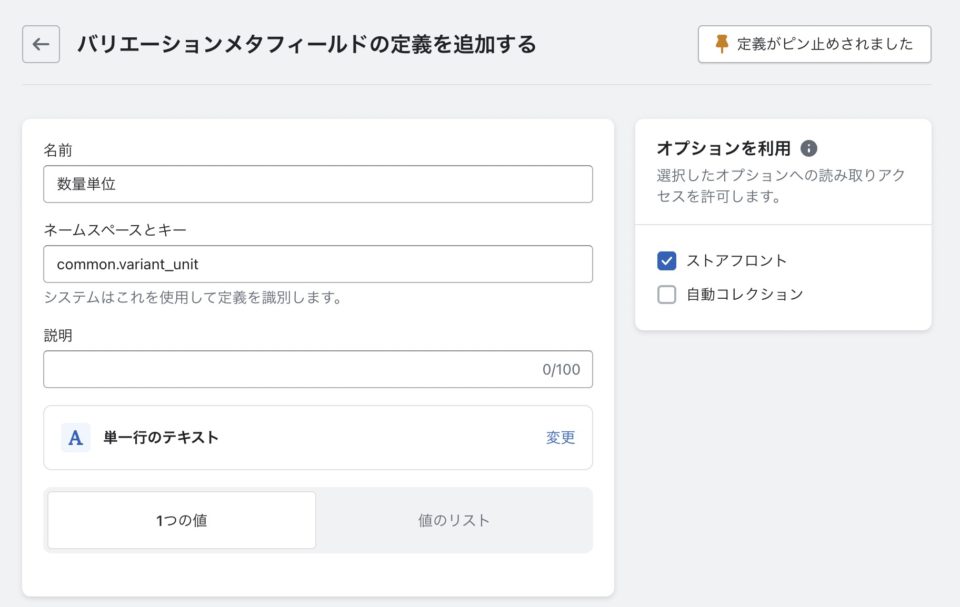
管理画面で、「バリエーション」メタフィールドに新しい設定を追加します。
名前はなんでもいいのですが、商品カテゴリにかかわらずすべての商品で使うことになるので、ネームスペースをcommon、キーはvariant_unitにしておきました。
バリエーションを持たない商品の場合、商品登録画面のメタフィールド欄にバリエーションメタフィールドも表示されます。
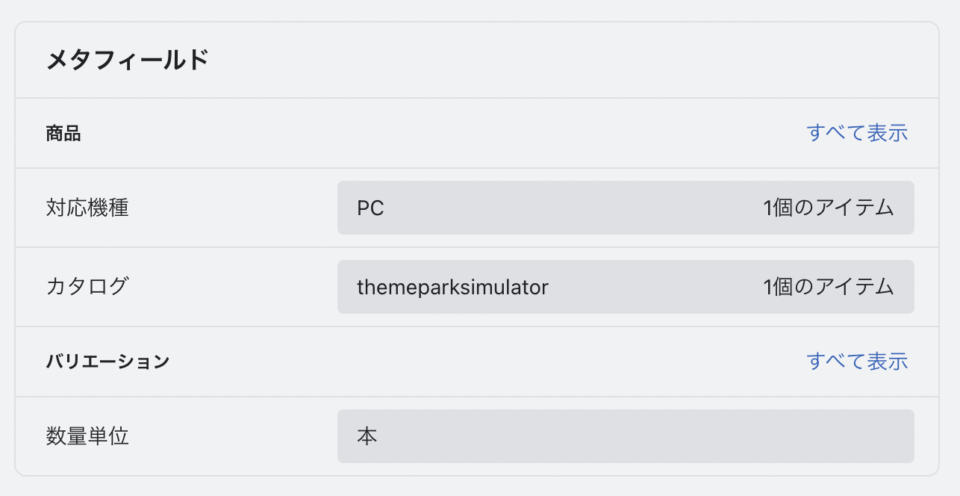
バリエーションがある商品は、バリエーションごとに「編集」ボタンをクリックすると、バリエーションの詳細を設定できる画面にメタフィールド欄がありますので、そこで数量単位を入力します。
メタフィールドを一括編集できるアプリなどを導入するとこの作業がとても楽なのでおすすめです。
私はMetafield Guruを使っています。
商品ページのカート追加フォームで数量単位を表示する
商品ページのフォームに、数量を表示するためのHTML要素を追加します。
main-product.liquidにアクセス時のバリエーション数量単位を表示する記述を追加
まずはHTML側です。
商品ページのフォームが含まれているセクションファイル、main-product.liquidを編集します。
数量入力するquantity-inputカスタム要素がありますので、その直後に
以下のようなコードを挿入します。
<div class="variant-unit"><span id="variant-unit-{{ section.id }}">{{ product.selected_or_first_available_variant.metafields.common.variant_unit }}</span></div>
商品ページに来た時点でパラメータにバリエーションが入っていると、バリエーションが選択された状態になりますが、そもそもバリエーションがない商品の場合もありますね。
そこで、初回のレンダリング時にそこを判定して該当するバリエーションのメタフィールドデータを表示するようにしておきます。
selected_or_first_available_variantは、現在選択されているバリエーション、または商品が持っている先頭のバリエーションを指定できるプロパティです。
上記のデータを表示するための親要素であるspan要素には、section.idを含んだid属性を付与しておきます。
global.jsでバリエーション変更時の再レンダリングを設定する
次に、global.jsファイルを編集します。
Dawnテーマでは、バリエーションが変更されたことを検知して、商品情報部分を再レンダリングする処理が行われています。
それが下記の、renderProductInfo()の部分です。
  renderProductInfo() {
    const requestedVariantId = this.currentVariant.id;
    const sectionId = this.dataset.originalSection ? this.dataset.originalSection : this.dataset.section;

    fetch(`${this.dataset.url}?variant=${requestedVariantId}§ion_id=${this.dataset.originalSection ? this.dataset.originalSection : this.dataset.section}`)
      .then((response) => response.text())
      .then((responseText) => {
        // prevent unnecessary ui changes from abandoned selections
        if (this.currentVariant.id !== requestedVariantId) return;

        const html = new DOMParser().parseFromString(responseText, 'text/html')
        const destination = document.getElementById(`price-${this.dataset.section}`);
        const source = html.getElementById(`price-${this.dataset.originalSection ? this.dataset.originalSection : this.dataset.section}`);
        const skuSource = html.getElementById(`Sku-${this.dataset.originalSection ? this.dataset.originalSection : this.dataset.section}`);
        const skuDestination = document.getElementById(`Sku-${this.dataset.section}`);
        const inventorySource = html.getElementById(`Inventory-${this.dataset.originalSection ? this.dataset.originalSection : this.dataset.section}`);
        const inventoryDestination = document.getElementById(`Inventory-${this.dataset.section}`);

        if (source && destination) destination.innerHTML = source.innerHTML;
        if (inventorySource && inventoryDestination) inventoryDestination.innerHTML = inventorySource.innerHTML;
        if (skuSource && skuDestination) {
          skuDestination.innerHTML = skuSource.innerHTML;
          skuDestination.classList.toggle('visibility-hidden', skuSource.classList.contains('visibility-hidden'));
        }

        const price = document.getElementById(`price-${this.dataset.section}`);

        if (price) price.classList.remove('visibility-hidden');

        if (inventoryDestination) inventoryDestination.classList.toggle('visibility-hidden', inventorySource.innerText === '');

        const addButtonUpdated = html.getElementById(`ProductSubmitButton-${sectionId}`);
        this.toggleAddButton(addButtonUpdated ? addButtonUpdated.hasAttribute('disabled') : true, window.variantStrings.soldOut);

        publish(PUB_SUB_EVENTS.variantChange, {data: {
          sectionId,
          html,
          variant: this.currentVariant
        }});
      });
  }
ちょうど、SKUや在庫の情報を書き換えるために要素を指定している行があるので、それを参考にしてみましょう。
        const variantUnitSource = html.getElementById(`variant-unit-${this.dataset.originalSection ? this.dataset.originalSection : this.dataset.section}`);
        const variantUnitDestination = document.getElementById(`variant-unit-${this.dataset.section}`);
上記の2行と、次の1行を挿入します。
if (variantUnitSource && variantUnitDestination) variantUnitDestination.innerHTML = variantUnitSource.innerHTML;
編集後はこんな感じです。
  renderProductInfo() {
    const requestedVariantId = this.currentVariant.id;
    const sectionId = this.dataset.originalSection ? this.dataset.originalSection : this.dataset.section;

    fetch(`${this.dataset.url}?variant=${requestedVariantId}§ion_id=${this.dataset.originalSection ? this.dataset.originalSection : this.dataset.section}`)
      .then((response) => response.text())
      .then((responseText) => {
        // prevent unnecessary ui changes from abandoned selections
        if (this.currentVariant.id !== requestedVariantId) return;

        const html = new DOMParser().parseFromString(responseText, 'text/html')
        const destination = document.getElementById(`price-${this.dataset.section}`);
        const source = html.getElementById(`price-${this.dataset.originalSection ? this.dataset.originalSection : this.dataset.section}`);
        const variantUnitSource = html.getElementById(`variant-unit-${this.dataset.originalSection ? this.dataset.originalSection : this.dataset.section}`);
        const variantUnitDestination = document.getElementById(`variant-unit-${this.dataset.section}`);
        const skuSource = html.getElementById(`Sku-${this.dataset.originalSection ? this.dataset.originalSection : this.dataset.section}`);
        const skuDestination = document.getElementById(`Sku-${this.dataset.section}`);
        const inventorySource = html.getElementById(`Inventory-${this.dataset.originalSection ? this.dataset.originalSection : this.dataset.section}`);
        const inventoryDestination = document.getElementById(`Inventory-${this.dataset.section}`);

        if (source && destination) destination.innerHTML = source.innerHTML;
        if (variantUnitSource && variantUnitDestination) variantUnitDestination.innerHTML = variantUnitSource.innerHTML;
        if (inventorySource && inventoryDestination) inventoryDestination.innerHTML = inventorySource.innerHTML;
        if (skuSource && skuDestination) {
          skuDestination.innerHTML = variantUnitSource.innerHTML;
          skuDestination.innerHTML = skuSource.innerHTML;
          skuDestination.classList.toggle('visibility-hidden', skuSource.classList.contains('visibility-hidden'));
        }

        const price = document.getElementById(`price-${this.dataset.section}`);

        if (price) price.classList.remove('visibility-hidden');

        if (inventoryDestination) inventoryDestination.classList.toggle('visibility-hidden', inventorySource.innerText === '');

        const addButtonUpdated = html.getElementById(`ProductSubmitButton-${sectionId}`);
        this.toggleAddButton(addButtonUpdated ? addButtonUpdated.hasAttribute('disabled') : true, window.variantStrings.soldOut);

        publish(PUB_SUB_EVENTS.variantChange, {data: {
          sectionId,
          html,
          variant: this.currentVariant
        }});
      });
  }
ここで親のセクションIDがついているid属性がついている要素を取得しているので、main-product.liquidでもspan要素のid属性にsection.idを含めておきました。
JavaScriptがわかる人はもっとスッキリ使いやすい書き方にもできると思うので、自由にカスタマイズしてください。
これで、商品ページでバリエーションを変更したときに、数量単位も書き換えられるようにできました。
コレクションページのカート追加フォームでも数量単位を表示したい
さて、以前の記事で、コレクションページから直接バリエーションを選択してカートに追加できるカスタマイズを行いました。
せっかくですから、コレクションページでも数量単位を表示したいと思います。
card-product.liquid
まずは商品カードUI単体のスニペットファイル、card-product.liquidにバリエーション表示のためのHTML要素を追加します。
このカードはコレクションページ内で複数登場するので、id属性がsection.idだと、同じid属性の要素が量産されてしまい困ります。
今回はこのid属性は使いませんが、そのうち何かに使うかもわからんので、当該商品のIDであるcard_product.idにしました。
<div class="variant-unit"><span id="variant-unit-{{ card_product.id }}">{{ card_product.selected_or_first_available_variant.metafields.common.variant_unit }}</span></div>
以前の記事を参照していただくとわかりますが、このcard_productはDawnテーマのmain-collection-product-grid.liquidから引き継がれているproductオブジェクトが代入された変数です。
ご自身のテーマの構造によって、当該productオブジェクトを指定するように適宜変更してください。
続いて、以前の記事で追加したバリエーション選択のselect要素配下にある、option要素にdata-variant-unitカスタムデータ属性を追加します。属性の命名は任意のもので大丈夫です。
<option value="{{ variant.id }}" data-variant-unit="{{ variant.metafields.common.variant_unit }}">{{ title }} - {{ variant.price | money }}</option>
このoption要素が選択されている場合に、data-variant-unitカスタムデータ属性の値を表示するようにします。
main-collection-product-grid.liquid
card-productスニペットを呼び出している親セクションのmain-collection-product-grid.liquidに、スクリプトを追加します。
コードはこんな感じです。
<script>
    let variantSelect = document.querySelectorAll('select[name="id"]');

    for(let targetSelect of variantSelect){
        targetSelect.addEventListener('change', function(){

          const unitElement = targetSelect.parentNode.querySelector('span[id^="variant-unit-"]');
          unitElement.innerHTML = targetSelect.options[targetSelect.selectedIndex].getAttribute('data-variant-unit');

        });
    }
</script>select要素はカードごとにあるので、for文でループしつつchangeイベントを検知します。
検知したselect要素の親要素の中から、id属性に「variant-unit-」が含まれるspan要素を探して、その中身を書き換える処理です。
select要素のselectedIndexで選択されているoption要素の配列番号が取得できるので、それをそのままoptions[n]の配列番号に当てはめて、data-variant-unitカスタムデータ属性の値を入れています。
これでコレクションページでもバリエーション数量単位を切り替えできました!
おわり
global.jsの中身をうまく書き換えれば、共通のコードでコレクションページの方も再レンダリングさせることができると思います。
私が実務で使っているテーマはDawnではない有料テーマなのですが、global.jsの中身が違っていて、section.idでなくてもイベント検知の対象になる要素を指定できて中身を再レンダリングさせられたので簡単でした。
有料テーマなのでさすがに中身のコードをコピペして紹介することはしませんが、できるよ!ということがわかっているだけでも光明が見えると思いますので、JavaScriptわかる人はリファクタしてみるのもいいかもしれません。